Is your Linux system slowing you down? Regular maintenance checks can help identify issues and keep your system running optimally. Fortunately, there are many Linux commands to help you.
Package managers
One of the easiest ways to keep your Linux system clean and speedy is to make sure your software packages are up-to-date. Package managers, like apt, dnf, or pacman, are your main tools for installing, updating, and removing software.
Update your system
Over time, outdated packages can cause system slowdowns, conflicts, or even security holes. Regular updates keep everything running smoothly and ensure you’re using the most optimized versions of your software. On your specific Linux system, run:
sudo apt update && sudo apt upgrade -y # Debian or Ubuntu-based
sudo dnf upgrade –refresh # Fedora, RHEL and similar distros
sudo pacman -Syu # Arch or Manjaro
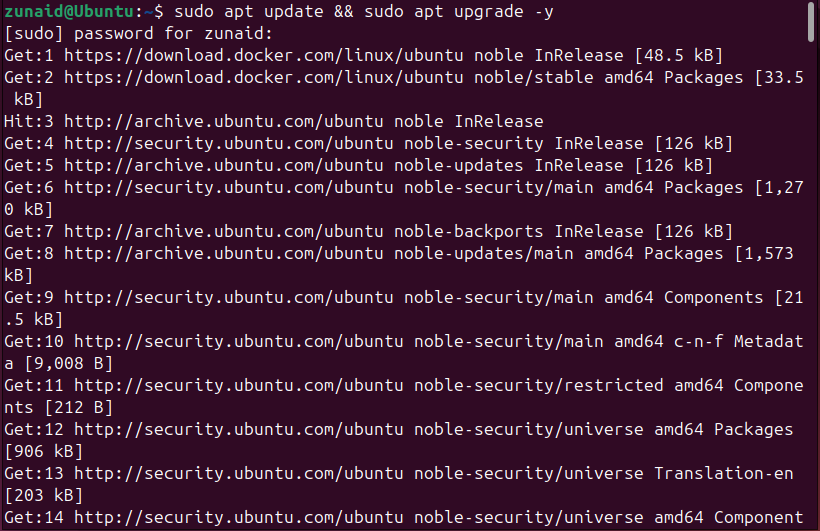
These commands do two things. They fetch the latest list of available packages from your repositories and install any available updates for the packages you already have. Keeping your system updated boosts performance and ensures you’re protected by the latest security patches.
Remove unused packages
Sometimes, there could be many packages installed on your system that you don’t need anymore. It’s a good idea to uninstall them. You can list installed packages with this command:
apt list –installed

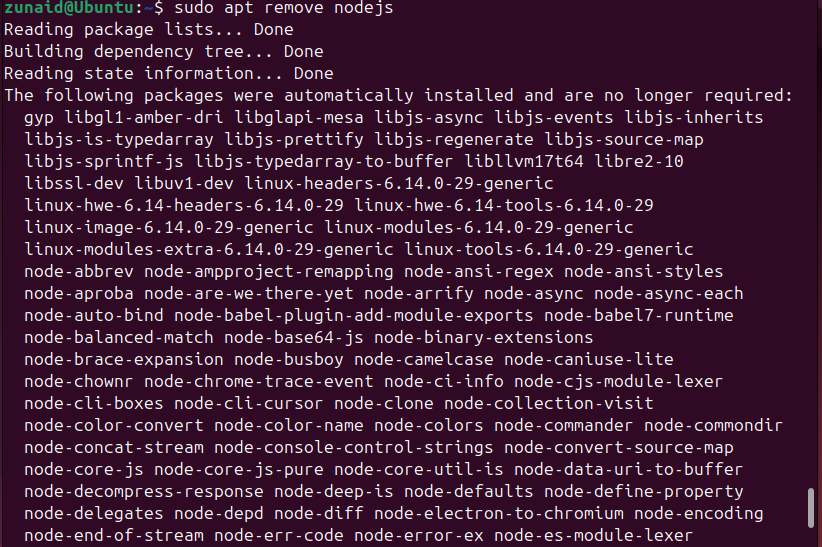
Then check which packages you don’t need anymore. Simply remove them from your system:
sudo apt remove package_name
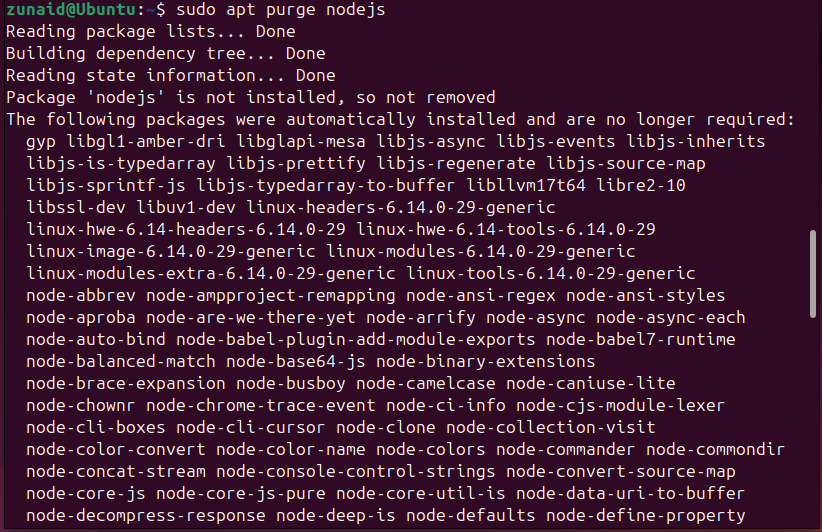
If you want to completely remove a package along with its system-wide configuration files, use:
sudo apt purge package_name
As you install and uninstall software, leftover dependencies and unused packages can quietly pile up in your system. These don’t just take up disk space. They can sometimes slow down package management tasks or even cause version conflicts later on. To clean up what you don’t need anymore, you can use:
sudo apt autoremove
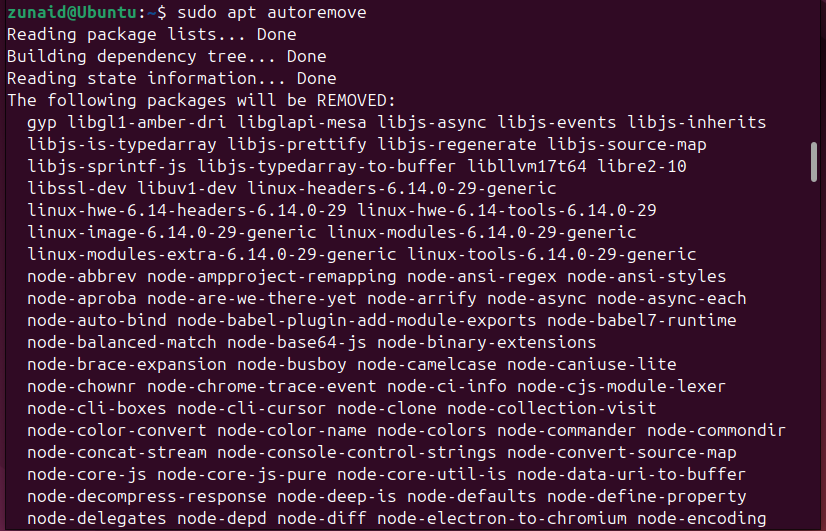
This command scans your system for packages that were automatically installed as dependencies but are no longer required.
Clean package cache
Every time you install or update software, your package manager saves downloaded files in a cache. Over time, those cached packages can grow to even several gigabytes, especially if you’ve been updating regularly. You can safely clear it with:
sudo apt clean
This removes all stored package files. If you’d prefer a lighter cleanup that keeps the latest ones, use:
sudo apt autoclean
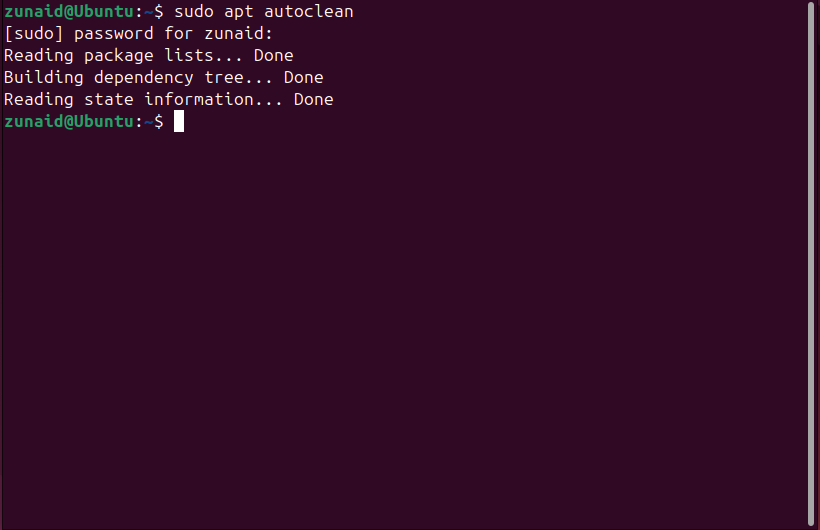
That removes outdated package files from the cache, freeing up a bit more space. Running these once every few weeks is a quick way to maintain a healthy system without touching anything risky.
journalctl: remove old logs
Linux logs so many things. While these logs are invaluable for troubleshooting, they can quietly gather over time and eat up precious disk space. If your logs are taking up too much space, use journalctl to prune older entries safely. For example:
sudo journalctl –vacuum-time=2weeks

This keeps only the logs from the last two weeks and deletes everything older. You can also limit by size:
sudo journalctl –vacuum-size=200M
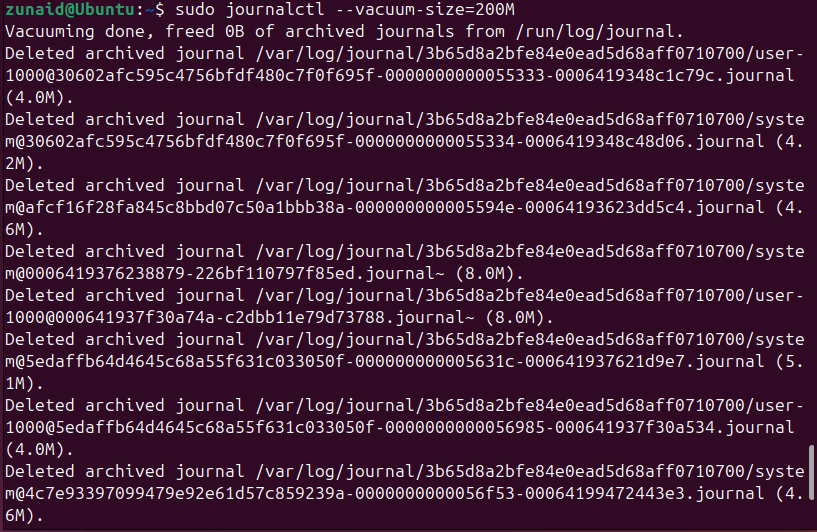
This command ensures your logs never exceed 200MB in total. These operations are perfectly safe. They don’t affect current or system-critical logs, just the old ones.
du & df: spot large disk sizes
You’re busy with an important task, and suddenly you get a “no space left on device” error. So annoying! It’s time to check what’s filling your disk. Two built-in commands, df and du, help you quickly understand where your storage is going.
Start with df to get an overview of disk usage across all mounted drives:
df -h

The -h flag makes the output human-readable (showing sizes in MB/GB). This gives you a quick snapshot of your partitions and the space left on each. Next, use du to narrow down to specific directories. Here’s an example:
sudo du -sh /* | sort -h
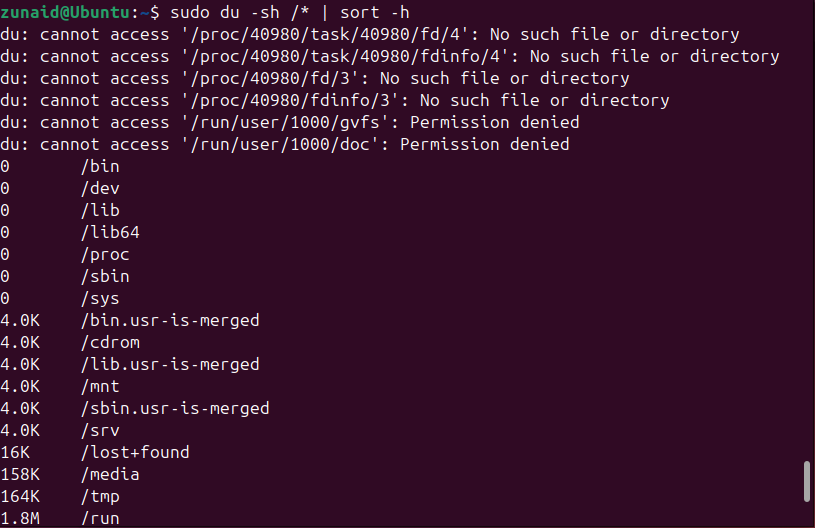
This command scans the root folders and sorts them by size. It’s great for spotting which areas of your system are the biggest offenders. Together, df tells you where space is tight, and du tells you what’s taking it. These two are a perfect match when you need to track down large files.
A system that takes forever to boot or feels sluggish right after startup often has too many background services running. Some of these are essential, but others can quietly eat up resources. You can list Linux services and check which ones are enabled at startup with:
systemctl list-unit-files –state=enabled
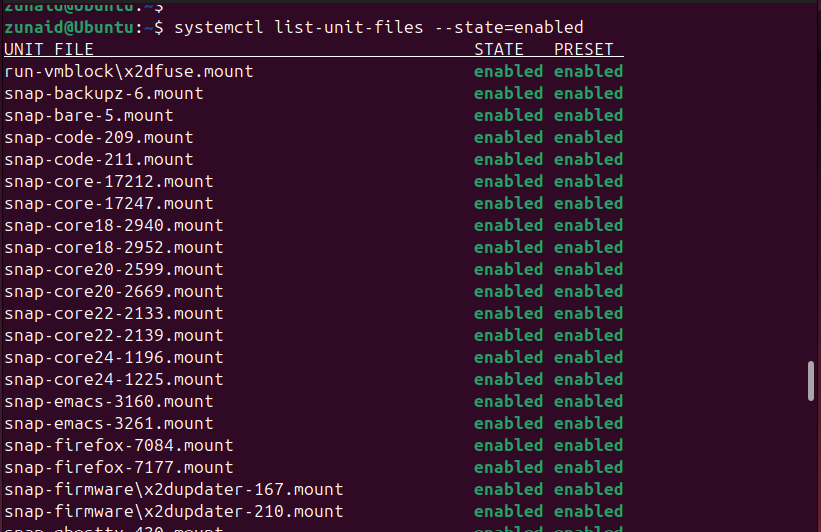
This lists all the services that launch automatically when your system boots. If you spot something you don’t need starting up every time, you can disable it safely with:
sudo systemctl disable service_name
To see what’s currently running and their statuses, you can use:
systemctl –type=service –state=running
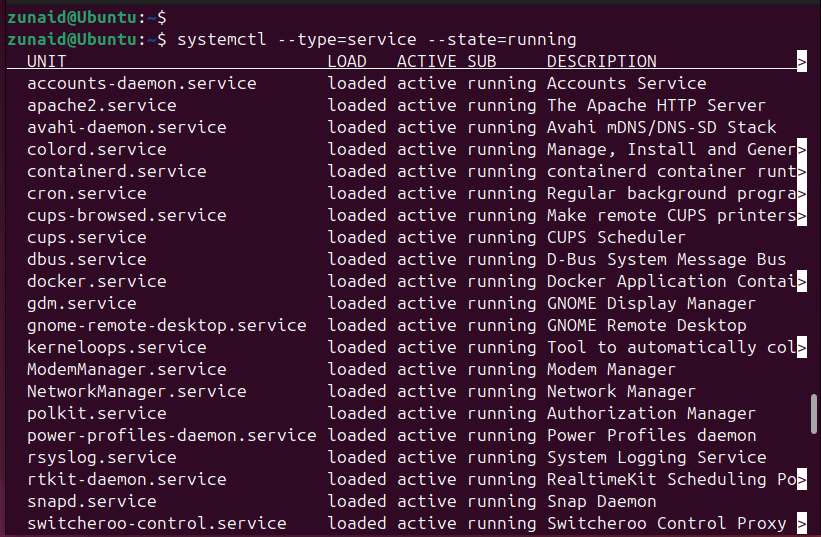
By getting rid of unnecessary startup programs, you’ll get faster boot times and a system that feels lighter right from login. Just make sure not to disable anything critical.
find: search for unused files
Sometimes the biggest space hogs aren’t obvious. Old backups, forgotten ISOs, or log files tucked deep in system folders. The find command is your all-purpose cleanup scout. It can locate files by size, age, or type, helping you decide what’s worth deleting.
To find large files (say, over 500 MB) anywhere on your system, run:
sudo find / -type f -size +500M 2>/dev/null
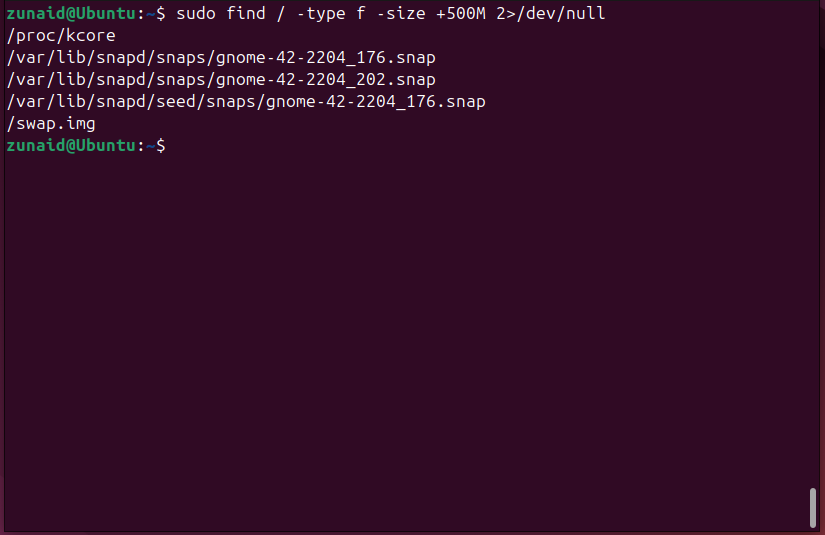
The 2>/dev/null part simply hides “permission denied” messages, so your results are easier to read. If you want to find old files you haven’t touched in months, try:
find ~/ -type f -mtime +90
This lists files in your home directory that haven’t been modified in over 90 days. Used wisely, the find command is one of the most powerful ways to track down old clutter and free up space without installing anything extra.
ps: list heavy processes
Even with plenty of free space, your system can still feel sluggish if certain programs are eating up too much CPU or memory. That’s where the ps command comes in. It helps you see what’s running and how resource-hungry each process is.
A quick way to spot the top resource users is:
ps aux –sort=-%mem | head
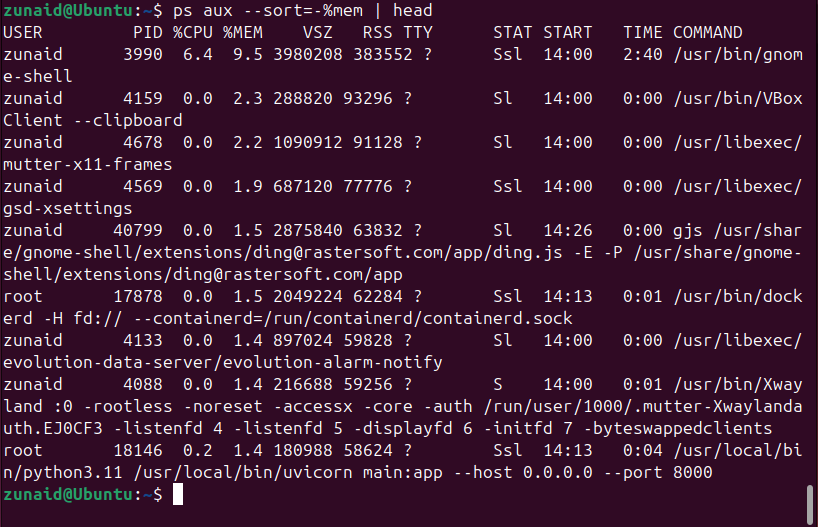
This lists all active processes, sorts them by memory usage (highest first), and shows the top few lines. For CPU usage instead, just sort by %cpu:
ps aux –sort=-%cpu | head
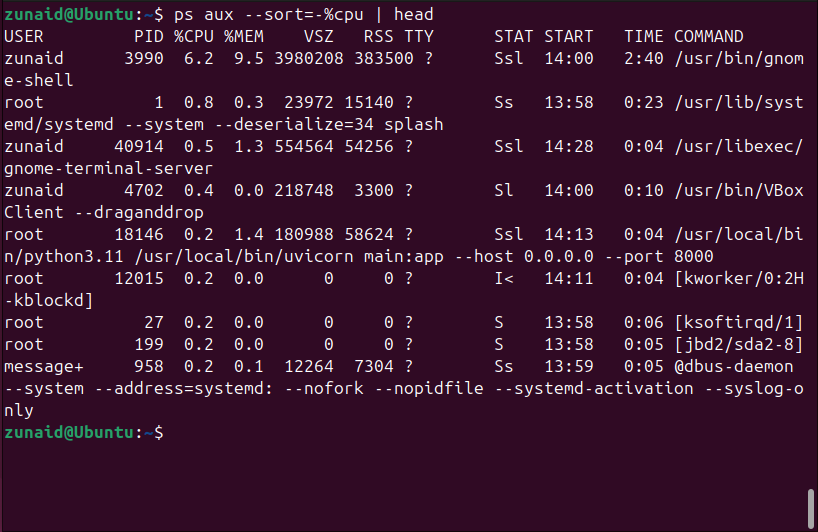
You’ll see columns for the process owner, CPU and memory percentages, and the command that started it. If something’s hogging resources, note its PID, then you can end it with:
sudo kill PID # Replace PID with the actual number shown in the list
ps gives you a quick snapshot of what’s happening under the hood, making Linux process management and diagnosing slowdowns much easier.
htop: monitor your system
When you want a live, interactive view of what’s happening on your system, htop is the go-to command. It’s perfect for spotting performance bottlenecks at a glance. If you don’t have it installed, do so with:
sudo apt install htop
Then simply start it with:
htop
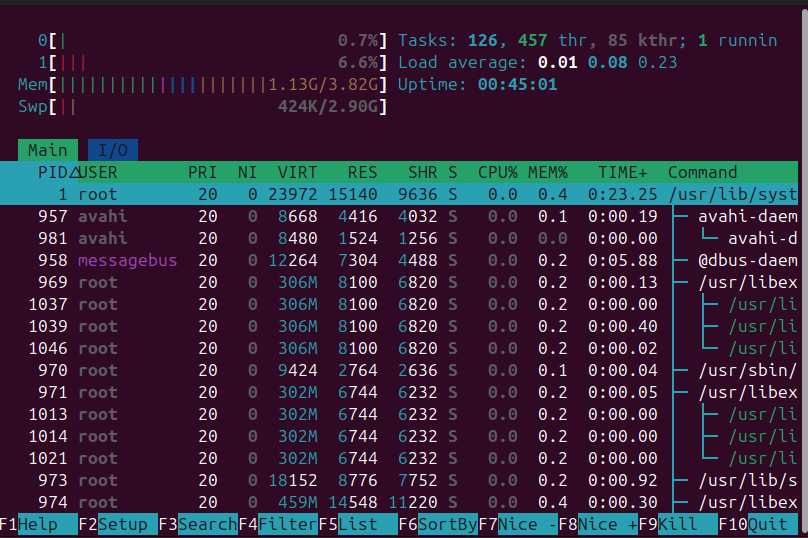
You’ll see a colorful dashboard showing CPU, memory, and swap usage, along with a live list of processes. You can scroll through them, sort by CPU or memory, and even kill a process directly by pressing F9. No need to memorize PIDs or type extra commands.
htop is great for identifying what’s slowing things down right now. Whether it’s a runaway browser tab or a background service gone wild, you’ll see it instantly.
Regular system performance monitoring and troubleshooting with these tools will help keep your Linux system running like new.